
Reskilling Photography Course
An online photography course aimed specifically at DoD Reskilling students
How to navigate through this course
How to find support
Acknowledgements
I will edit your photos
What's in my kit bag
Introduction to this chapter
It's all about the light
Buttons, dials and basic settings
Lenses – zoom, prime, fast and slow
Pay attention to your dashboard
Should I be photographing in RAW? What is RAW?
What is white balance and why is it important?
Playback and learn
Intro to composition
Change your point of view
Rule of thirds
Using leading lines
Enhancing your photos using negative spaces
Clutter and busy backgrounds
Don't be afraid to crop
Tell a story
Composition video
Composition: Now it's your turn
What is Program mode?
The Exposure meter. How, and why, do you change exposure?
How do I focus on a single point?
Introducing the exposure triangle
What is shutter speed?
Using the Tv setting, how do I change the shutter speed?
What is the perfect shutter speed?
Shutter speed info guide
What is camera shake and how do I reduce it?
The 30 second exercise
Video showing various shutter speed examples
Background to iconic Rio Olympics photo of Usain Bolt
Shutter speed: Now it's your turn
How is ISO related to the sensor?
What exactly is ISO?
How do you change ISO on your camera?
FAQ – ISO in action
ISO recap
ISO Info Guide
ISO: Now it's your turn
What is aperture?
Changing aperture using the Av mode
F-numbers and depth-of-field
Aperture info guide
Besides aperture what else affects DoF?
Can I change exposure while using the Av setting?
What is bokeh?
Screen video of photos at different aperture settings
Now it's you turn: Aperture
Setting aperture and shutter speed using M mode
Exposure – it's about balance
Properly exposing your photographs
Full manual: Now it's up to you
Assignments
Onwards and upwards
From Adobe: How to Take and Edit Pet Portraits
Interview with Sean Thompson
Hand over hand - details of my iconic scaffolding photo
I am Stephen Cruickshank.

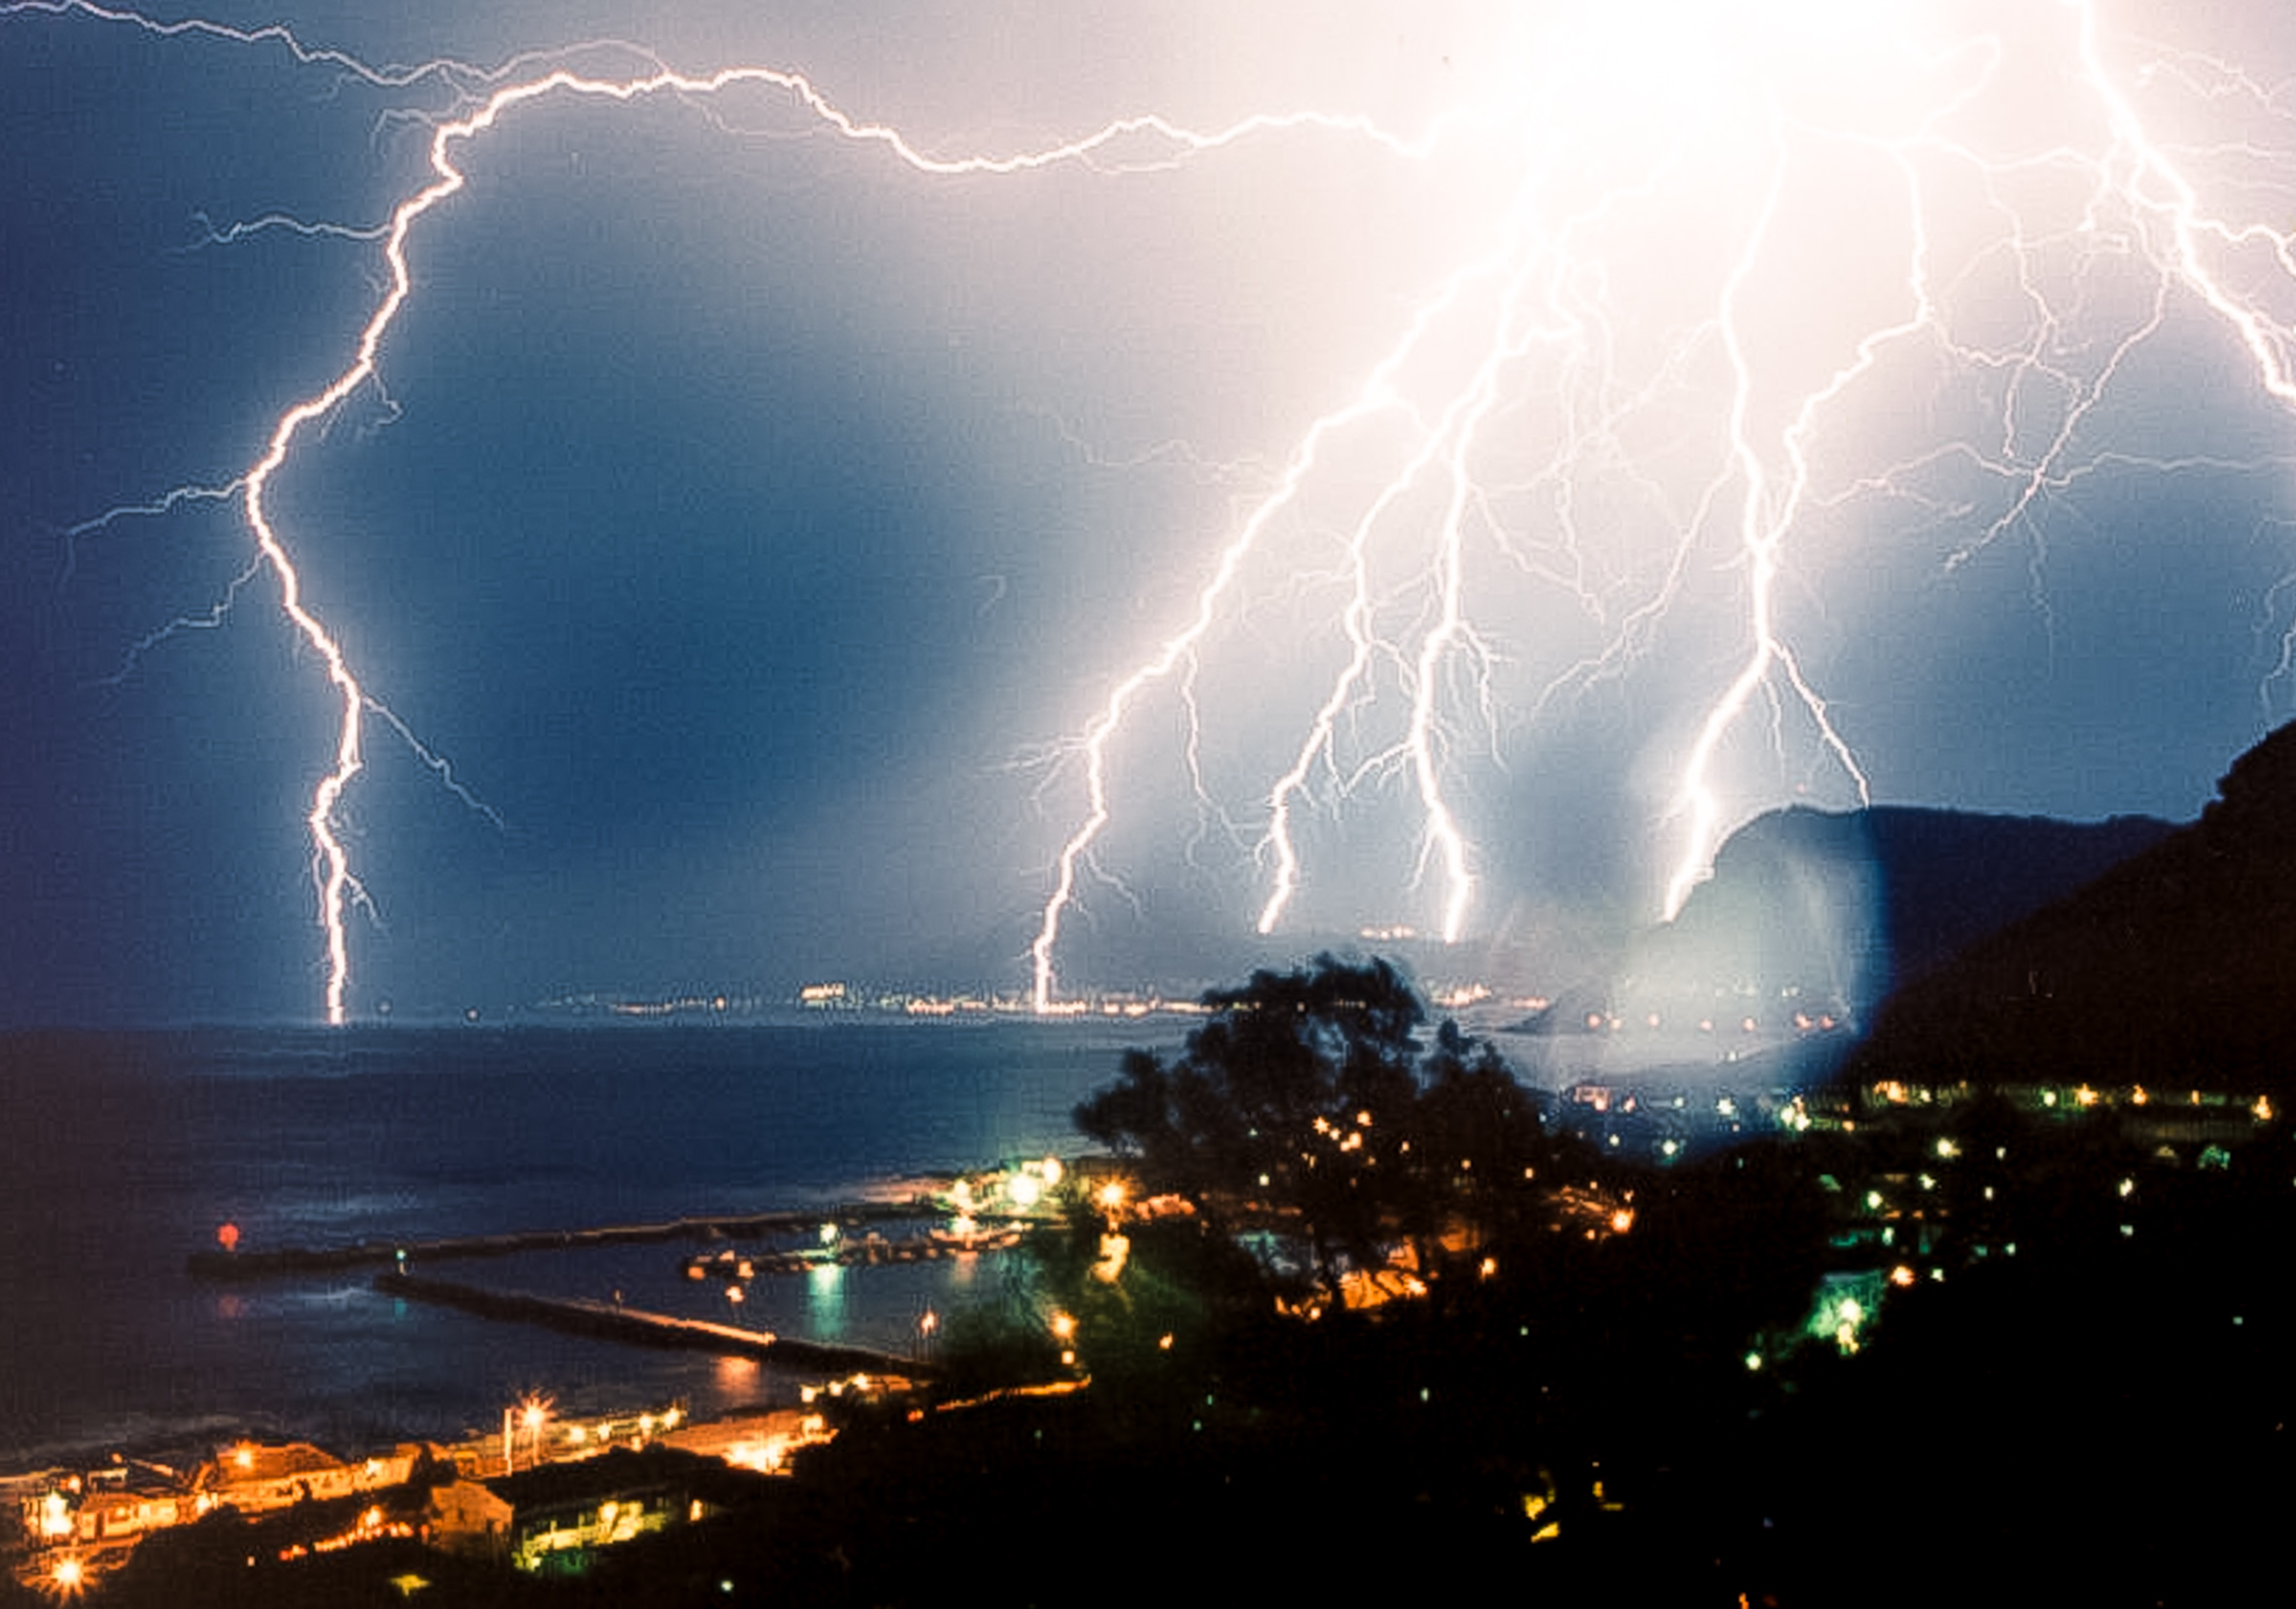
It was December 1998, an unusual thunderstorm blew in over my hometown of Cape Town in South Africa. We had some friends over for dinner that evening and on their way home they called to say lightning had struck the mountains which were now ablaze. I left home, with camera in hand, at around 11pm to go and photograph the mountain on fire. The blaze was very far away from the roadside so I headed back home without getting any shots.
As I approached home however, I saw the thunderstorm had moved in over False Bay once again. I went to a particular spot above my home village of Kalk Bay which I knew well for its view. I set up my camera on a tripod, pointed it in the direction of the strikes across the bay, and started shooting.
I had no idea if I had captured anything as in those days, using film cameras, I did not have the playback option on the back of my camera. The next day I went with excitement to the lab to have the film processed. Out of the 36 exposures on the spool, I submitted the best to a contact at the local newspaper. They printed this image in their Sunday edition! The newspaper didn't pay me much but they did take my number and passed all queries for prints on to me. I earned good money selling prints to people all over the world. Some still have the image hanging on their walls.
For this particular image shown, I left the shutter open for about 15 seconds. The photo captured two lightning strikes – one hitting in the bay and the other hitting the mountains on the other side of the bay.
This image started me on my path to becoming a professional photographer.
There is no way I could have captured this image if I did not know how to use manual settings.

 |
 |
 |
|
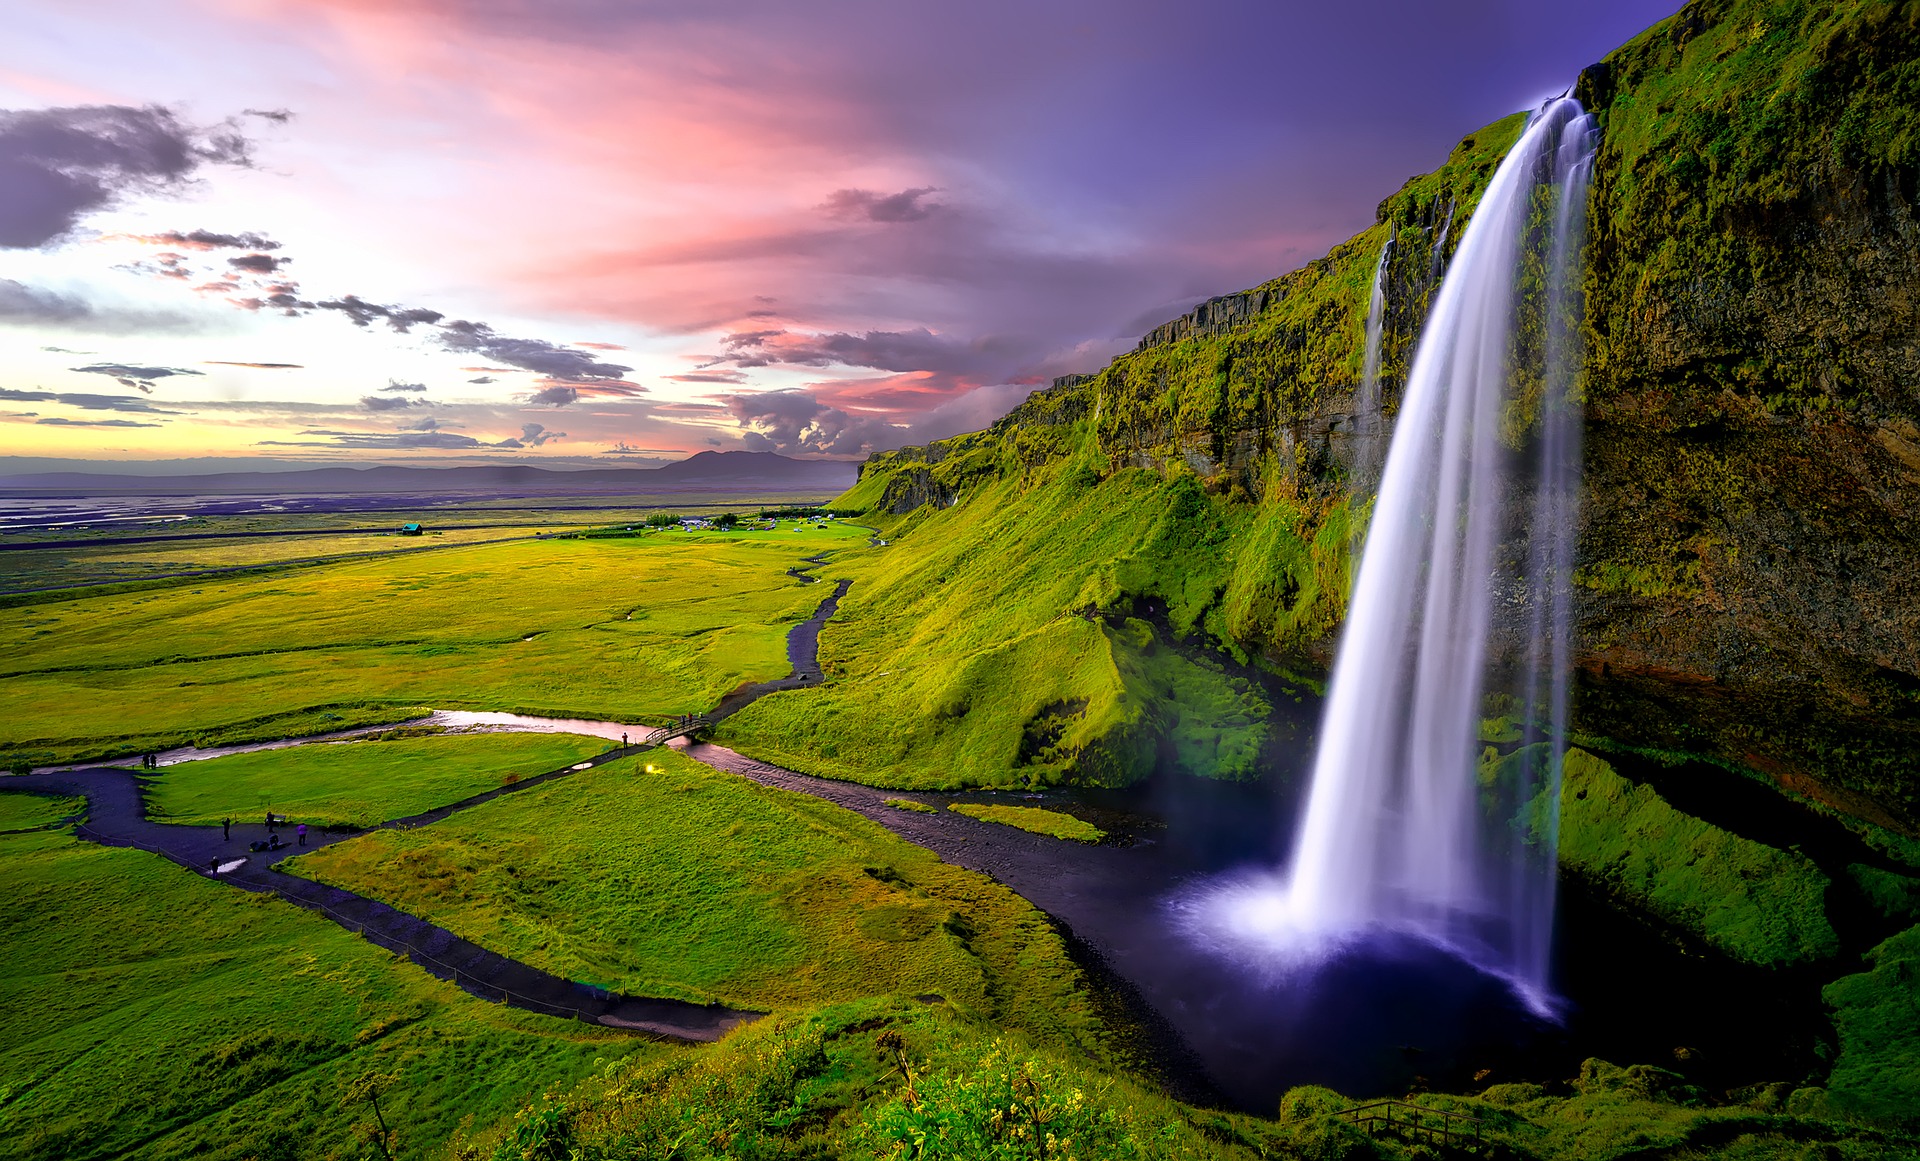
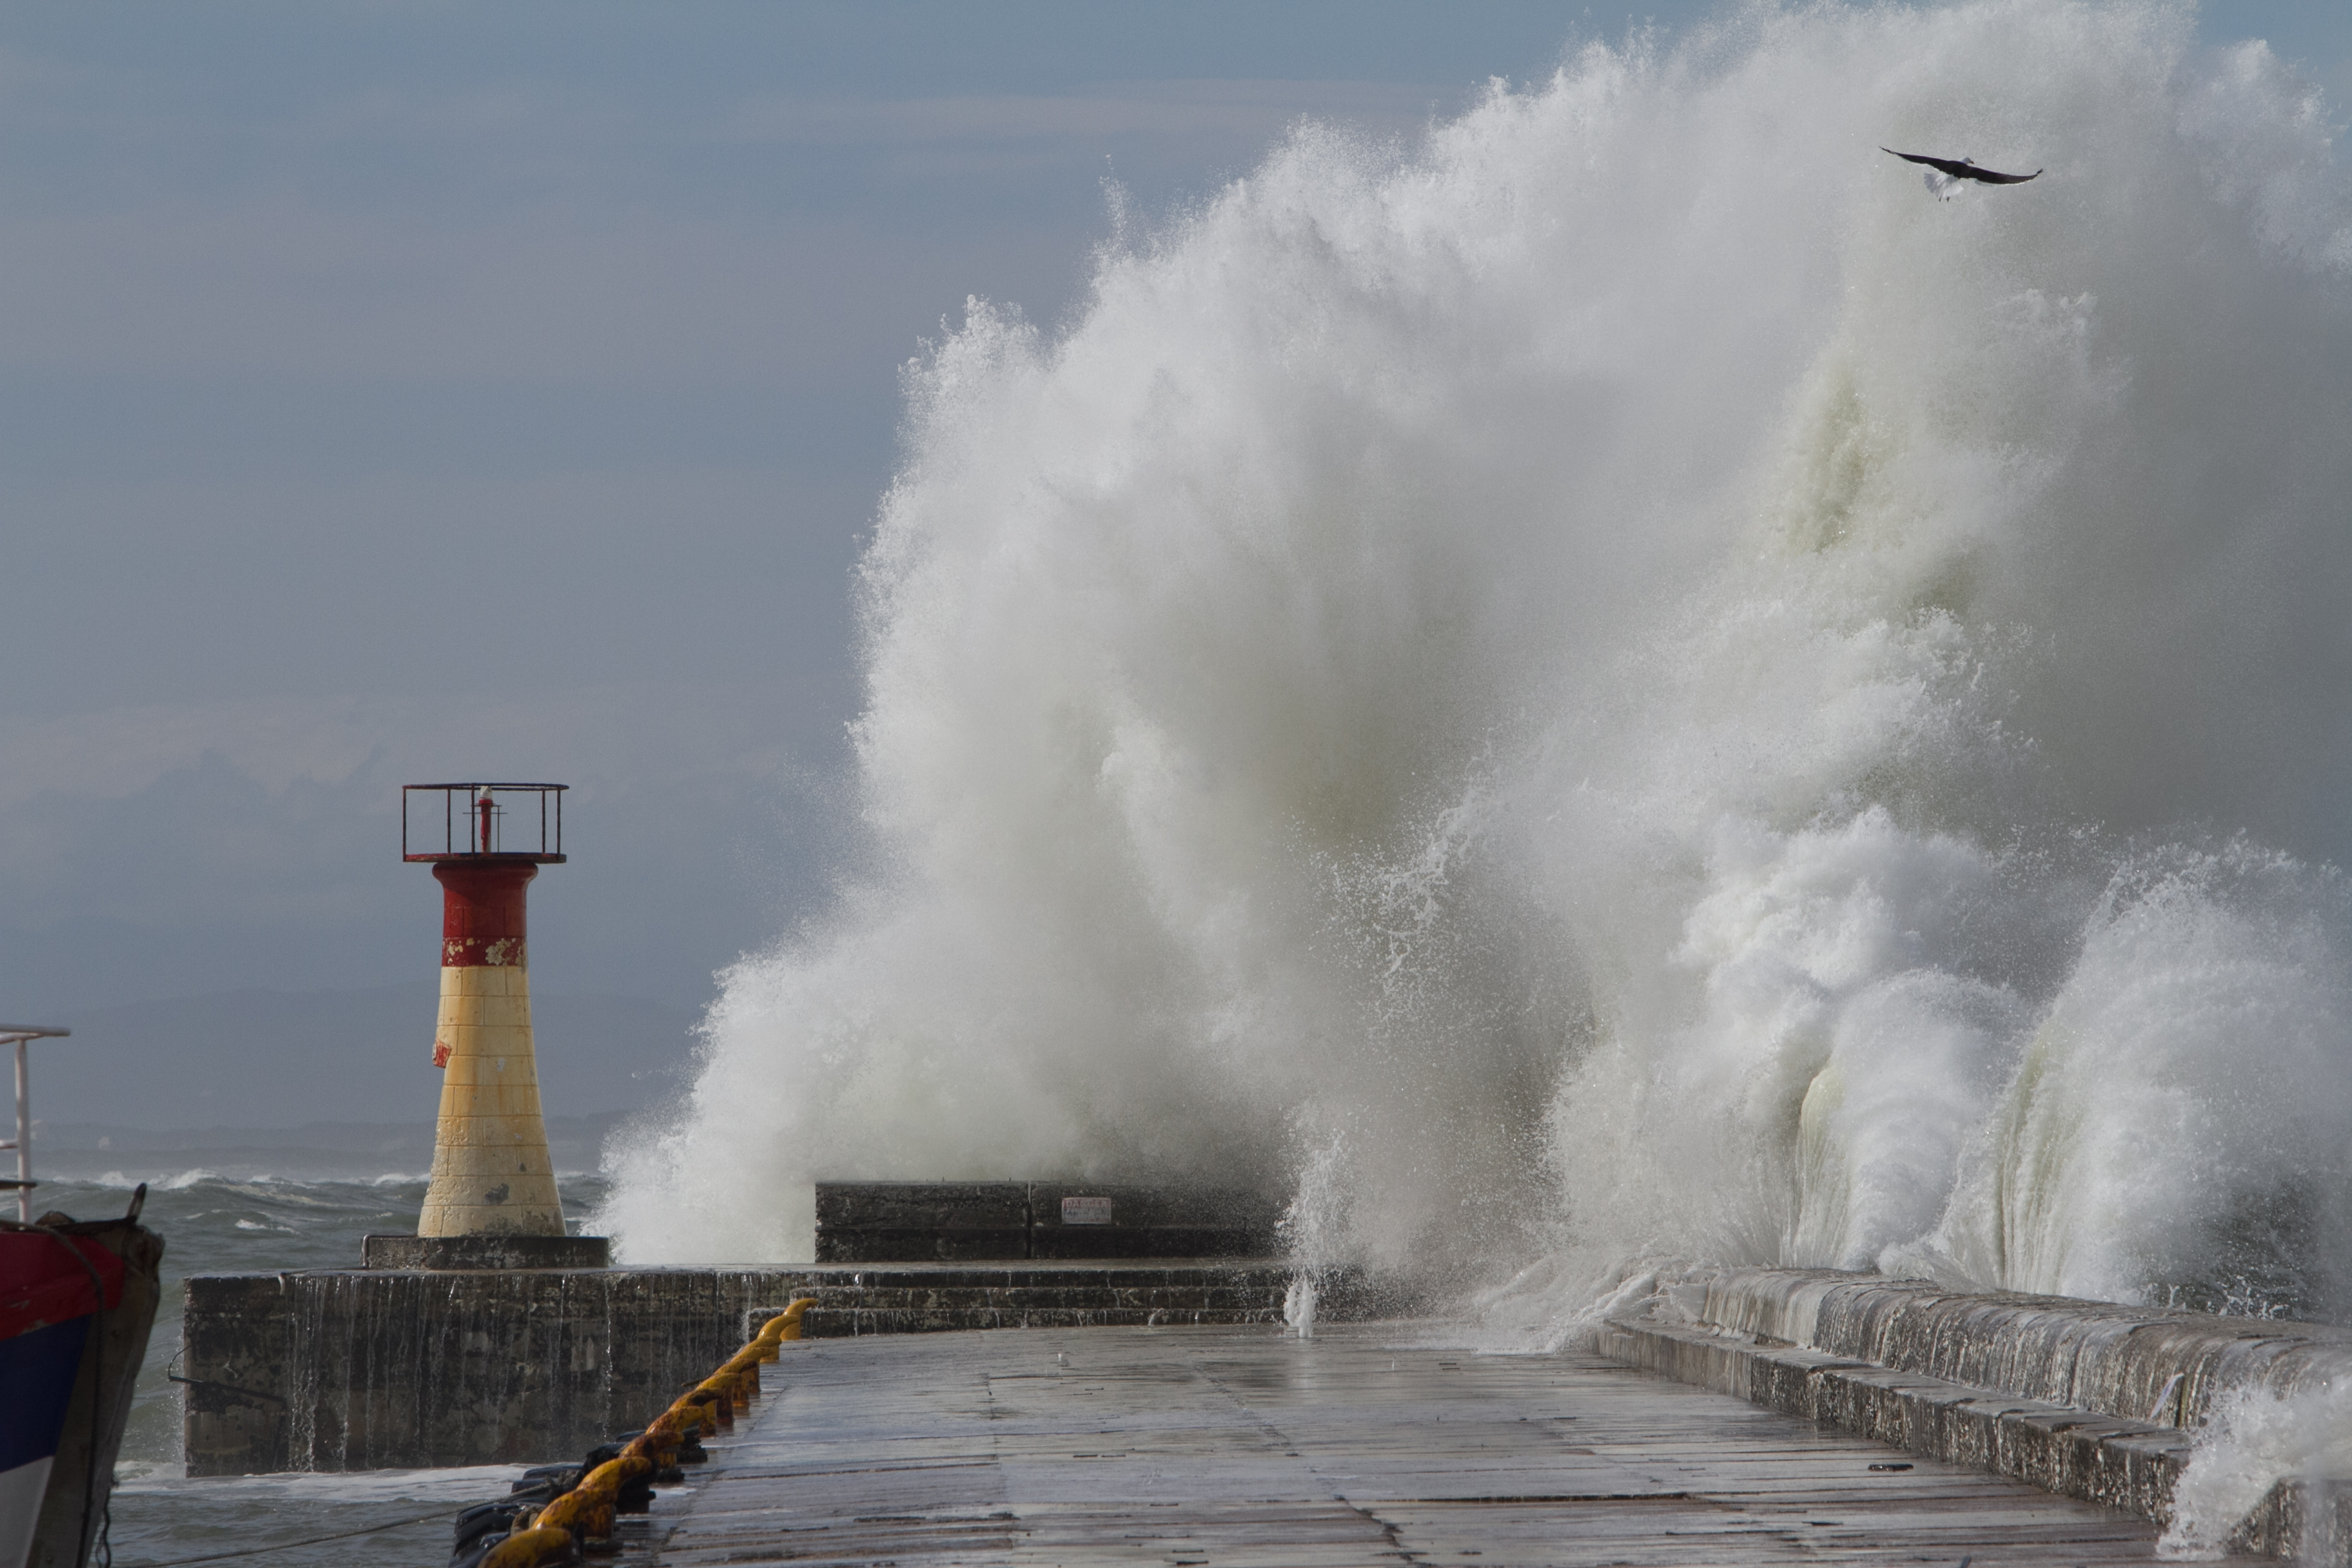
Do you know how to use shutter speed to get that beautiful waterfall photo? |
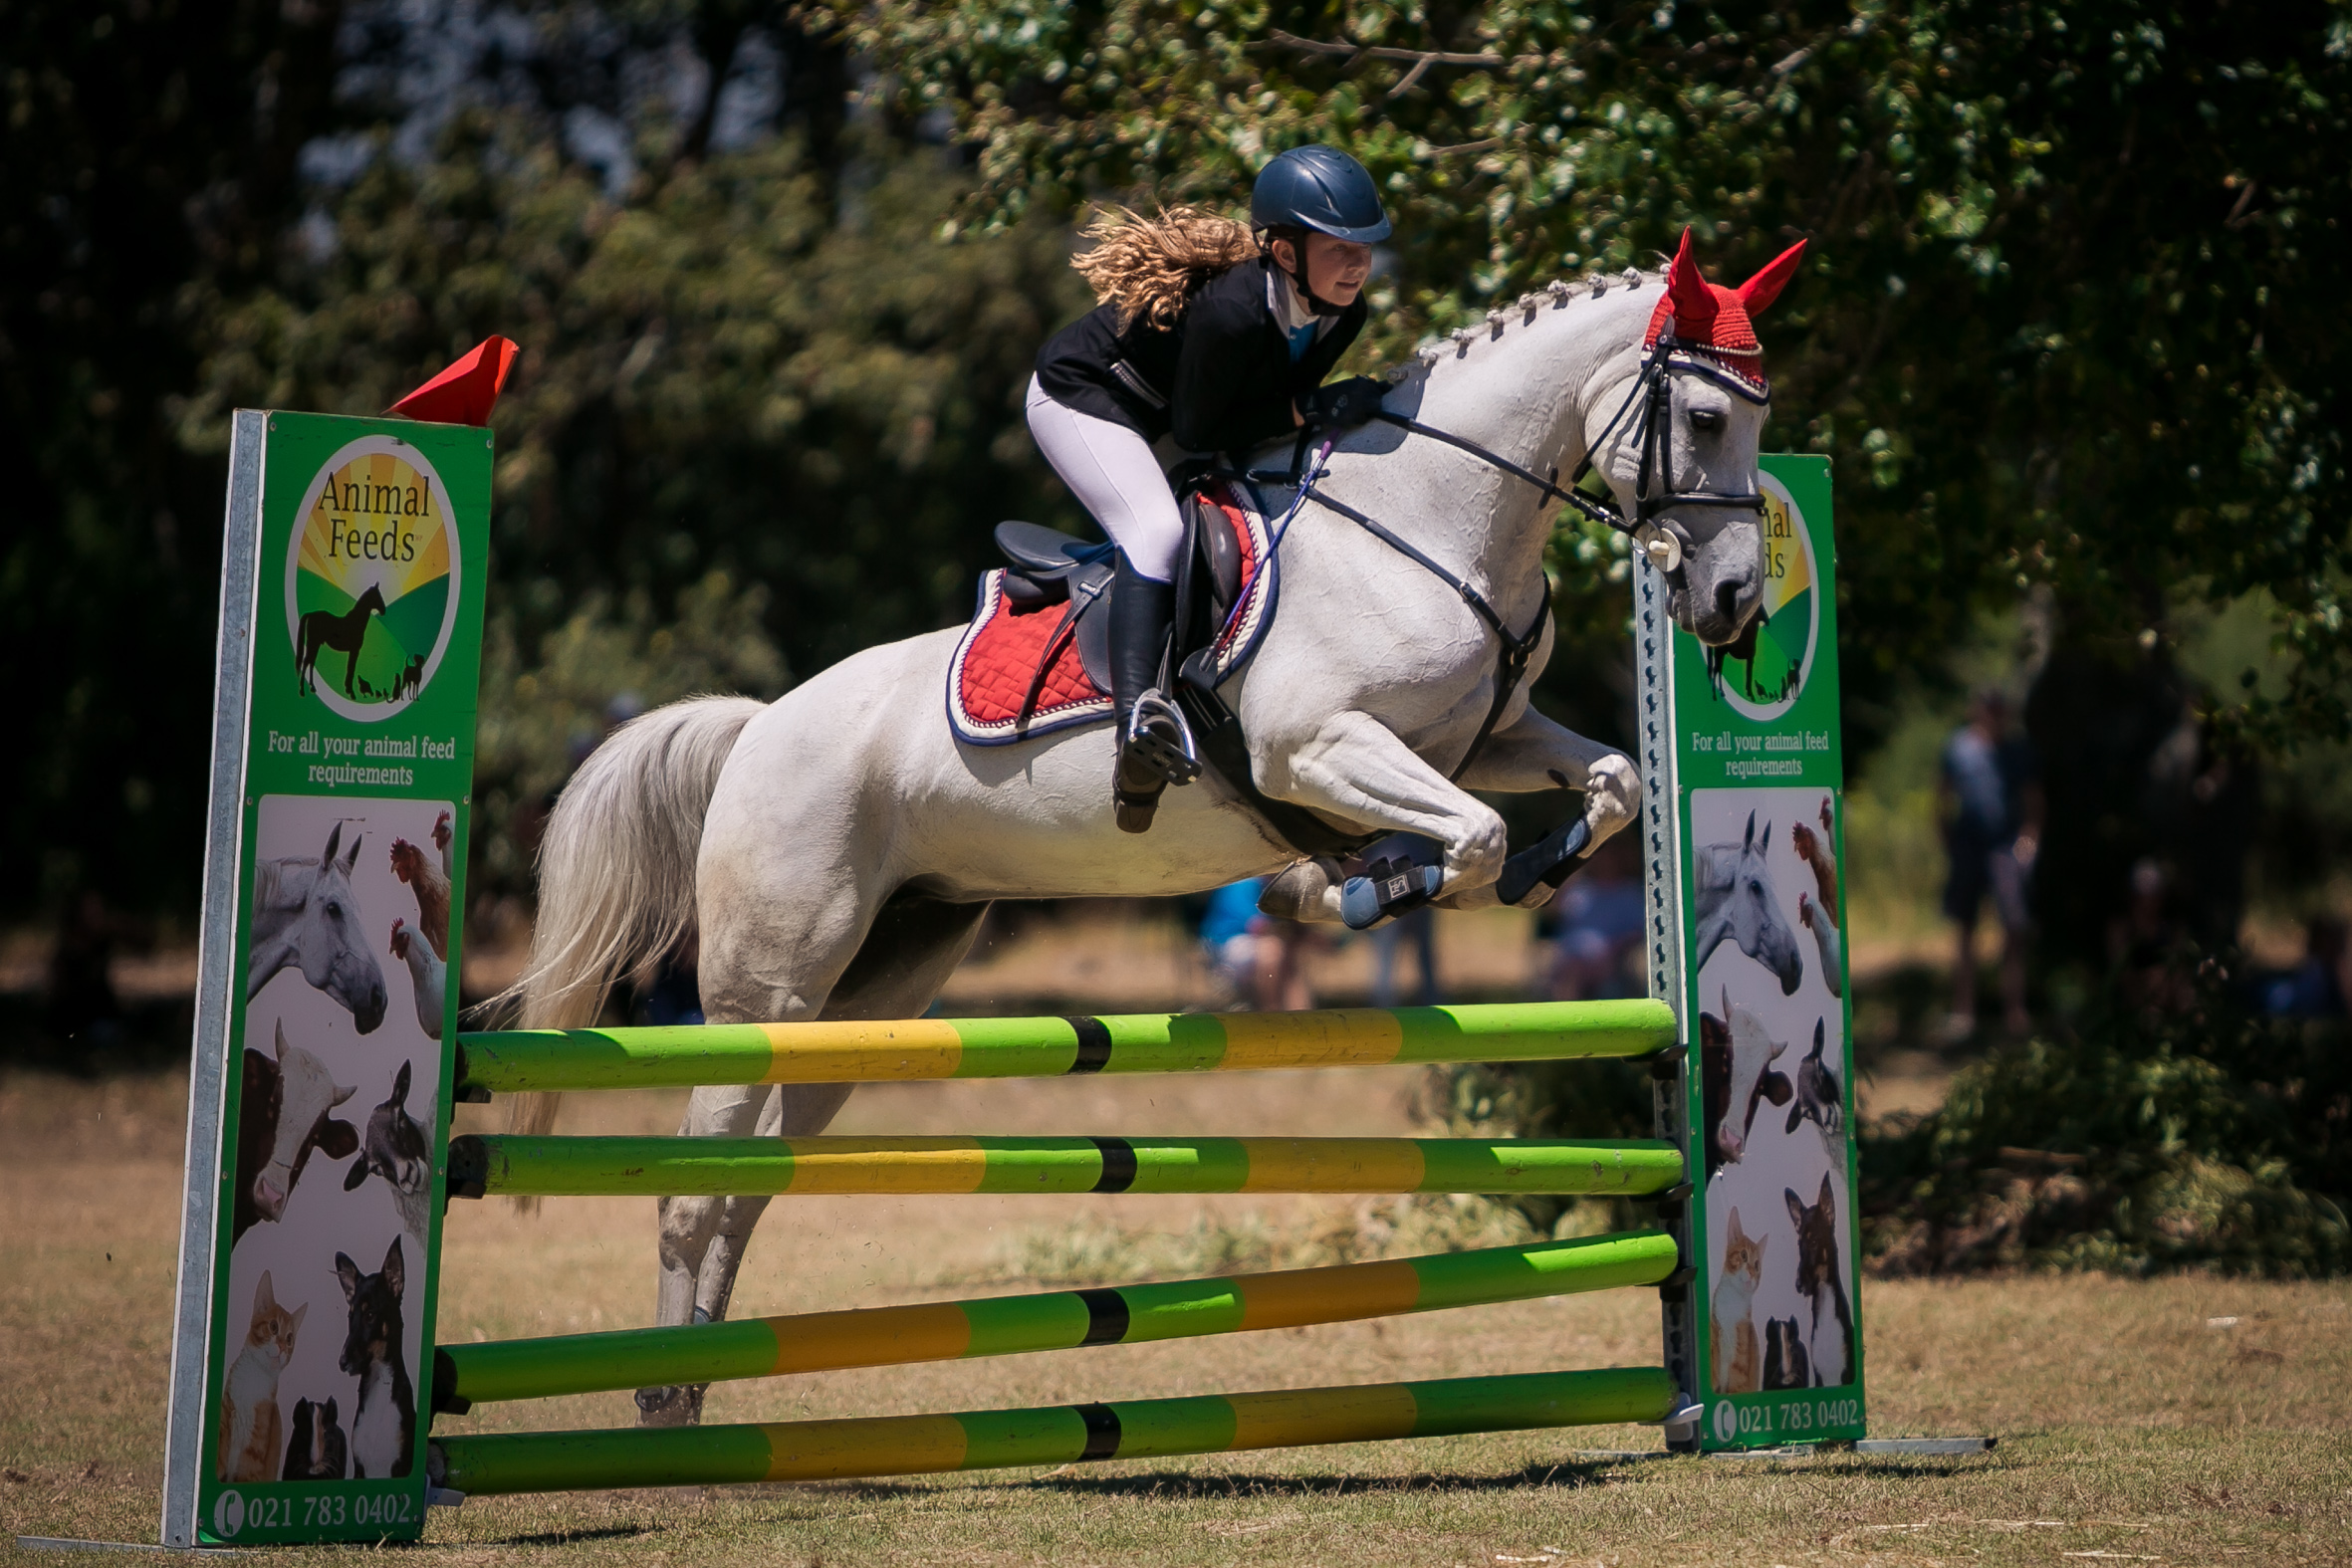
Do you know how to capture an action photo of your child enjoying their favorite sport? |
Do you know how to make the background blurred on your photos? |
| This course will teach you the ins and outs of changing shutter speed to get photos such as this. |
This course will teach you how to change your settings to get a sharp image using the fastest shutter speed possible. |
This course will teach you about when to change aperture settings. |
 |
 |
 |
|
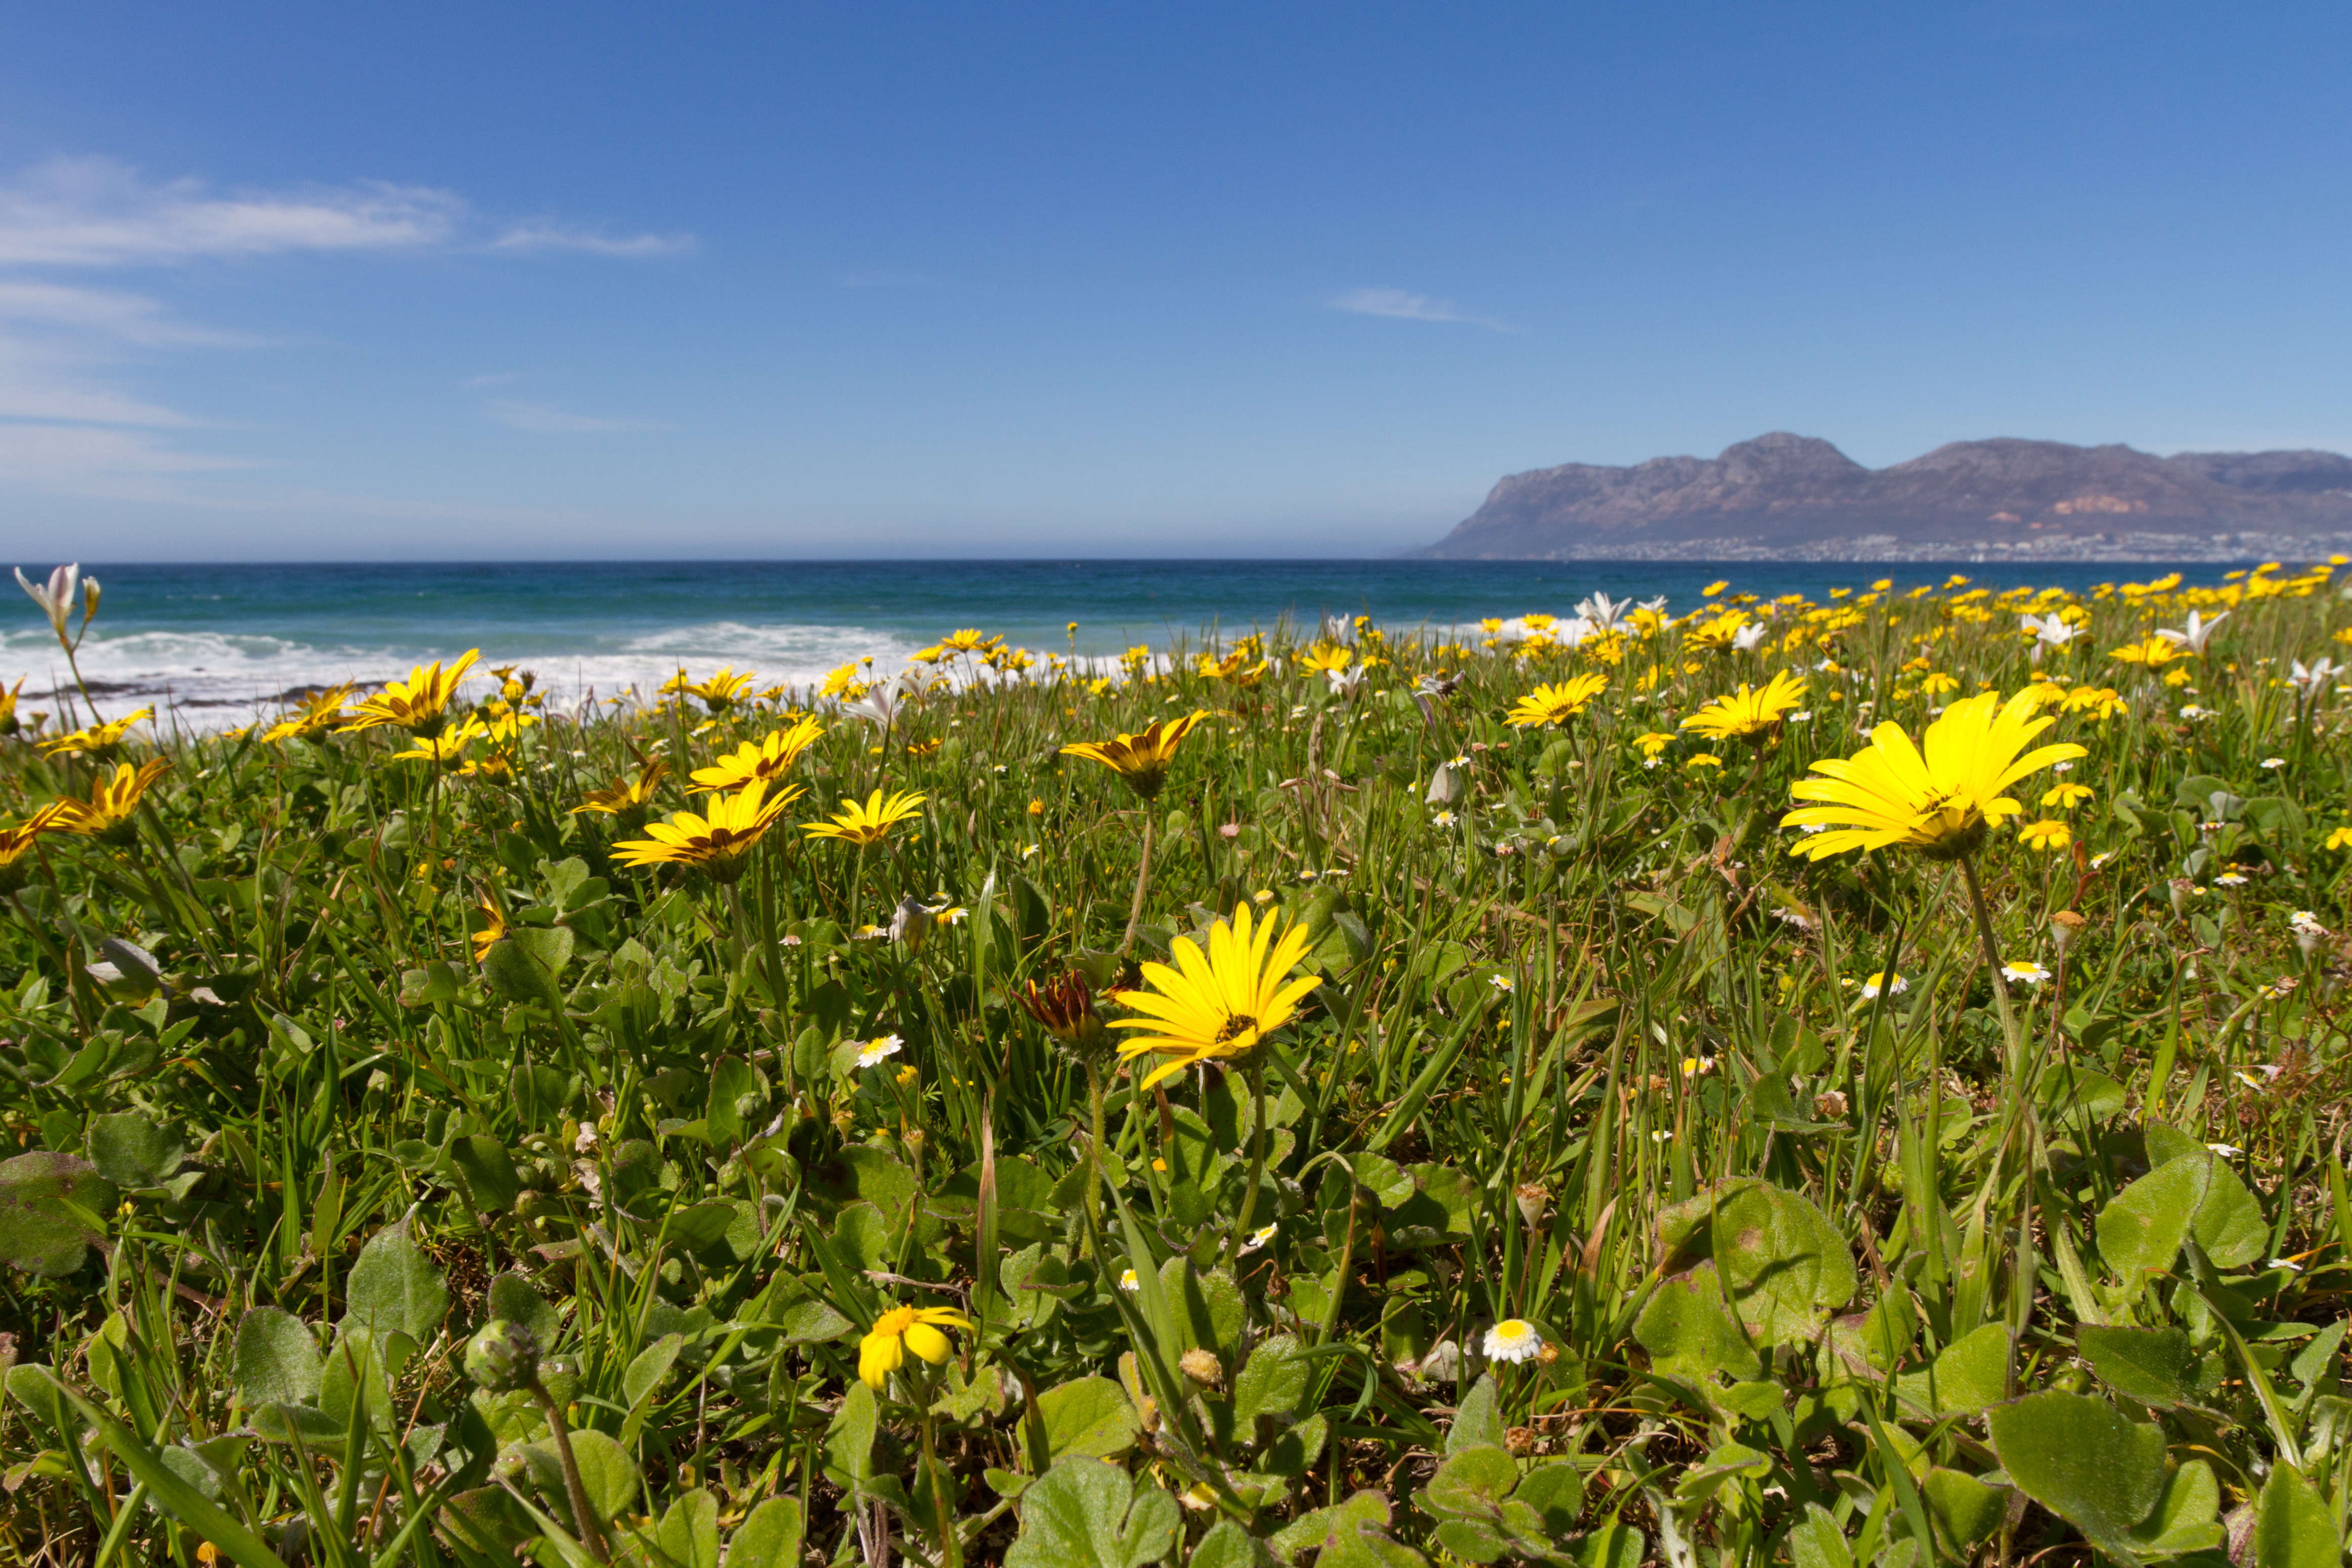
Do you know how to compose your image using the rule-of-thirds? |
Do you know the best aperture setting to capture a beautiful landscape photo? |
Do you know how to capture a well-exposed photo of the full moon? |
| In this course, you will learn to differentiate between different composition techniques. |
I will teach you how to change your ISO settings so you can adjust the shutter speed to capture the image you desire. | I will teach you which lens is best and how to expose correctly to get THAT shot. |
This course will teach you how to create beautiful images using manual settings.
It's online so you can access the content via mobile or PC which means you can learn wherever you are, at any time that suits you. And you have access to the course forever.
I will be available, via comments in each section as well as email, as a coach to evaluate your photos as you go through the course.
This is so much better than reading a book and not having anyone for guidance or feedback.
Thanks Stephen for changing my mind from auto to manual. To see the bigger picture of what photography means and how not to be afraid to change the settings.
Eddie Andrews
Thank you for a most interesting and enjoyable course Stephen! Thanks for introducing me to the world of “manual” photography of which I knew very little! I gained a wonderful new skill with your excellent training!
Amora Taljaard
It was great to be one of your students - you are a very good teacher with a wonderful personality.
Nico Otto
Thank you for changing my perspective on photography.
Aub Fisher
Thank you Stephen for your time and knowledge. It was great!!
Jo-Anne Ritter
Stephen a big thank you for the empowerment and knowledge.
Prem Mohanlal
 |
 |
 |
Set your shutter speed |
Use a shallow depth-of-field |
Use a fast shutter speed |
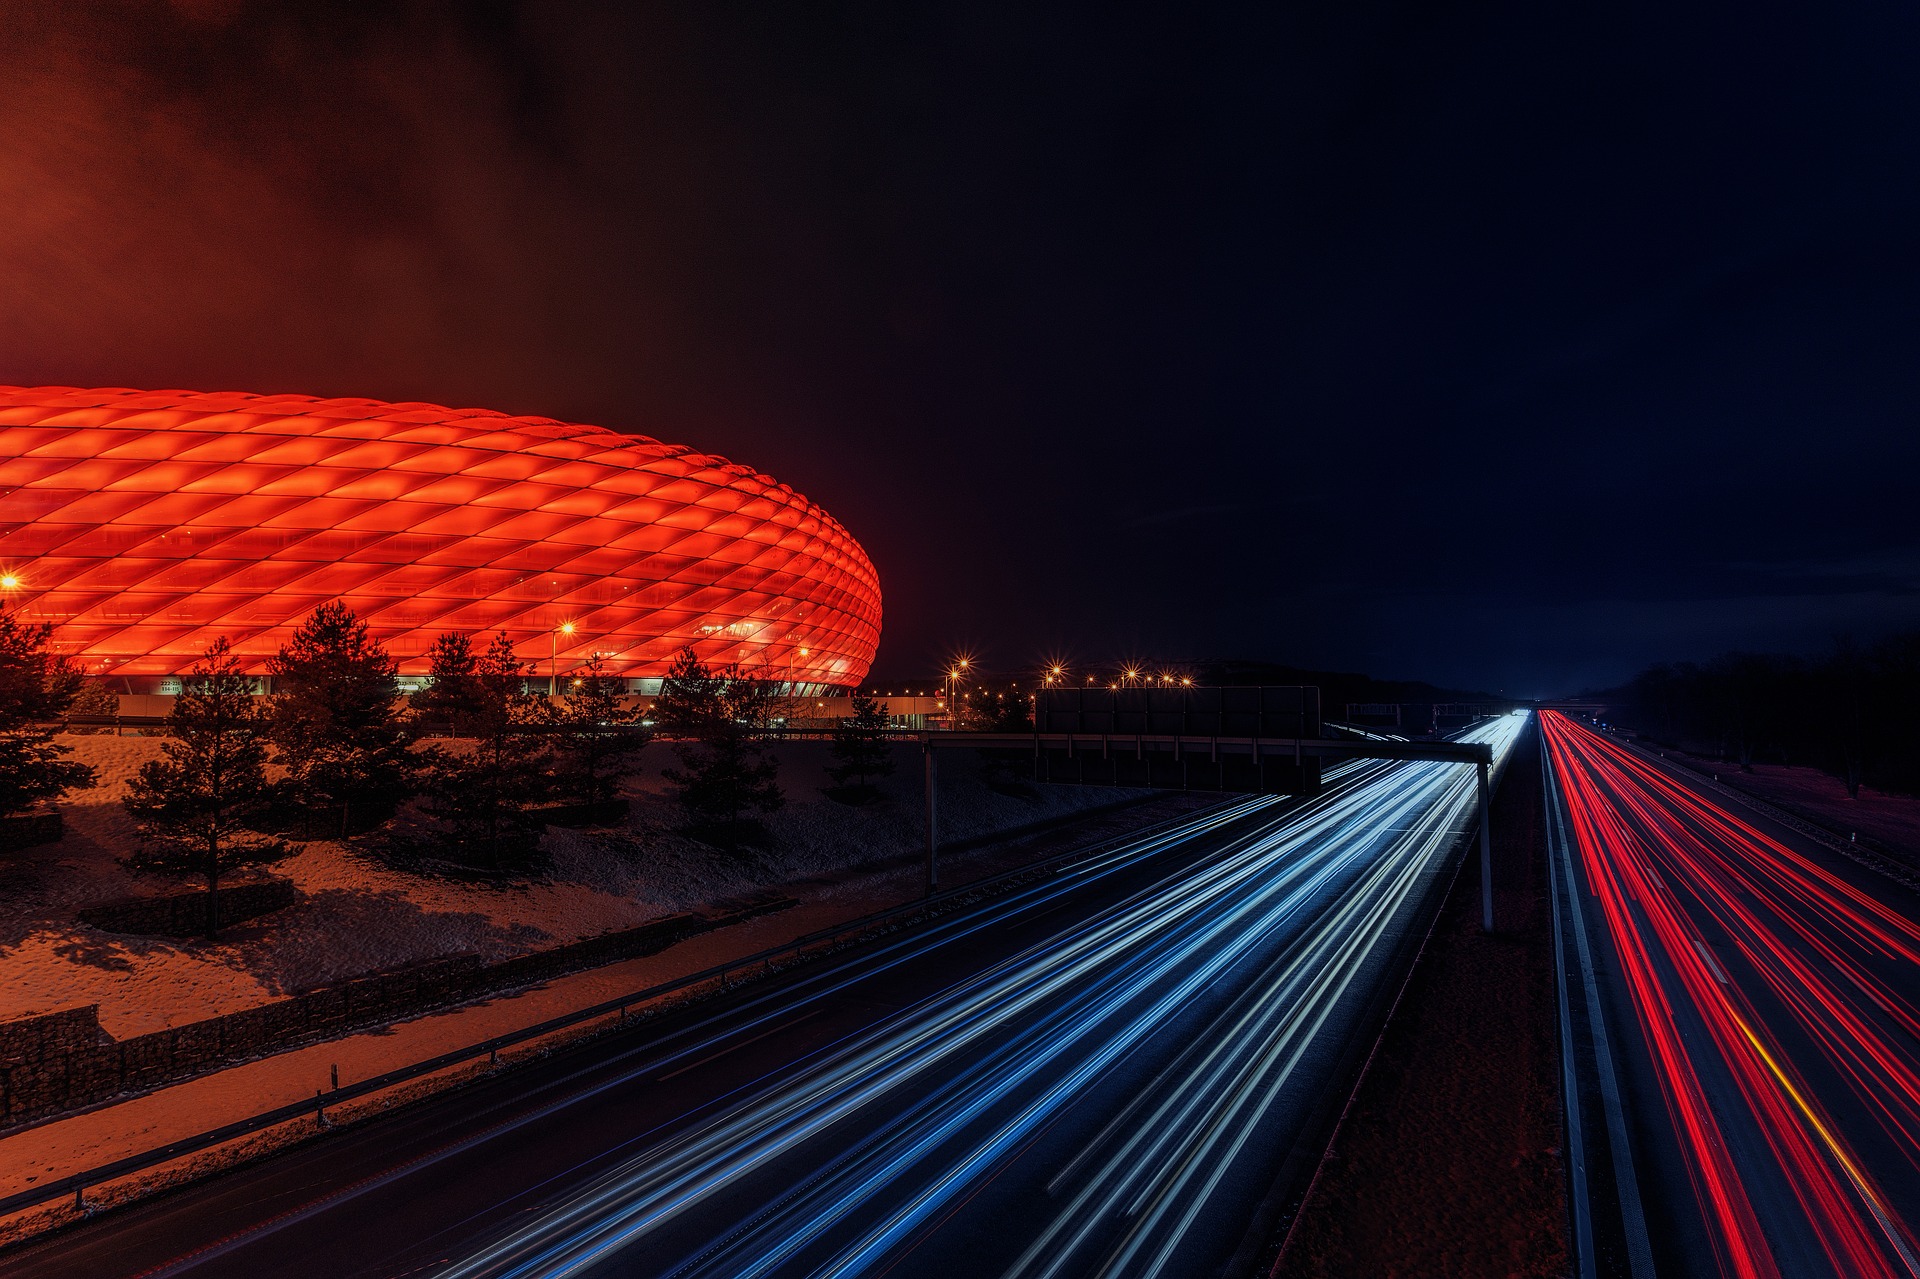
| Take beautiful photos of waterfalls or car-light trails at a slow shutter speed. |
Blur the background to get your people photos to really stand out. | Freeze motion in high action scenes. |
 |
 |
 |
Perfect sunset and sunrise photos |
Ensure your subject stands out |
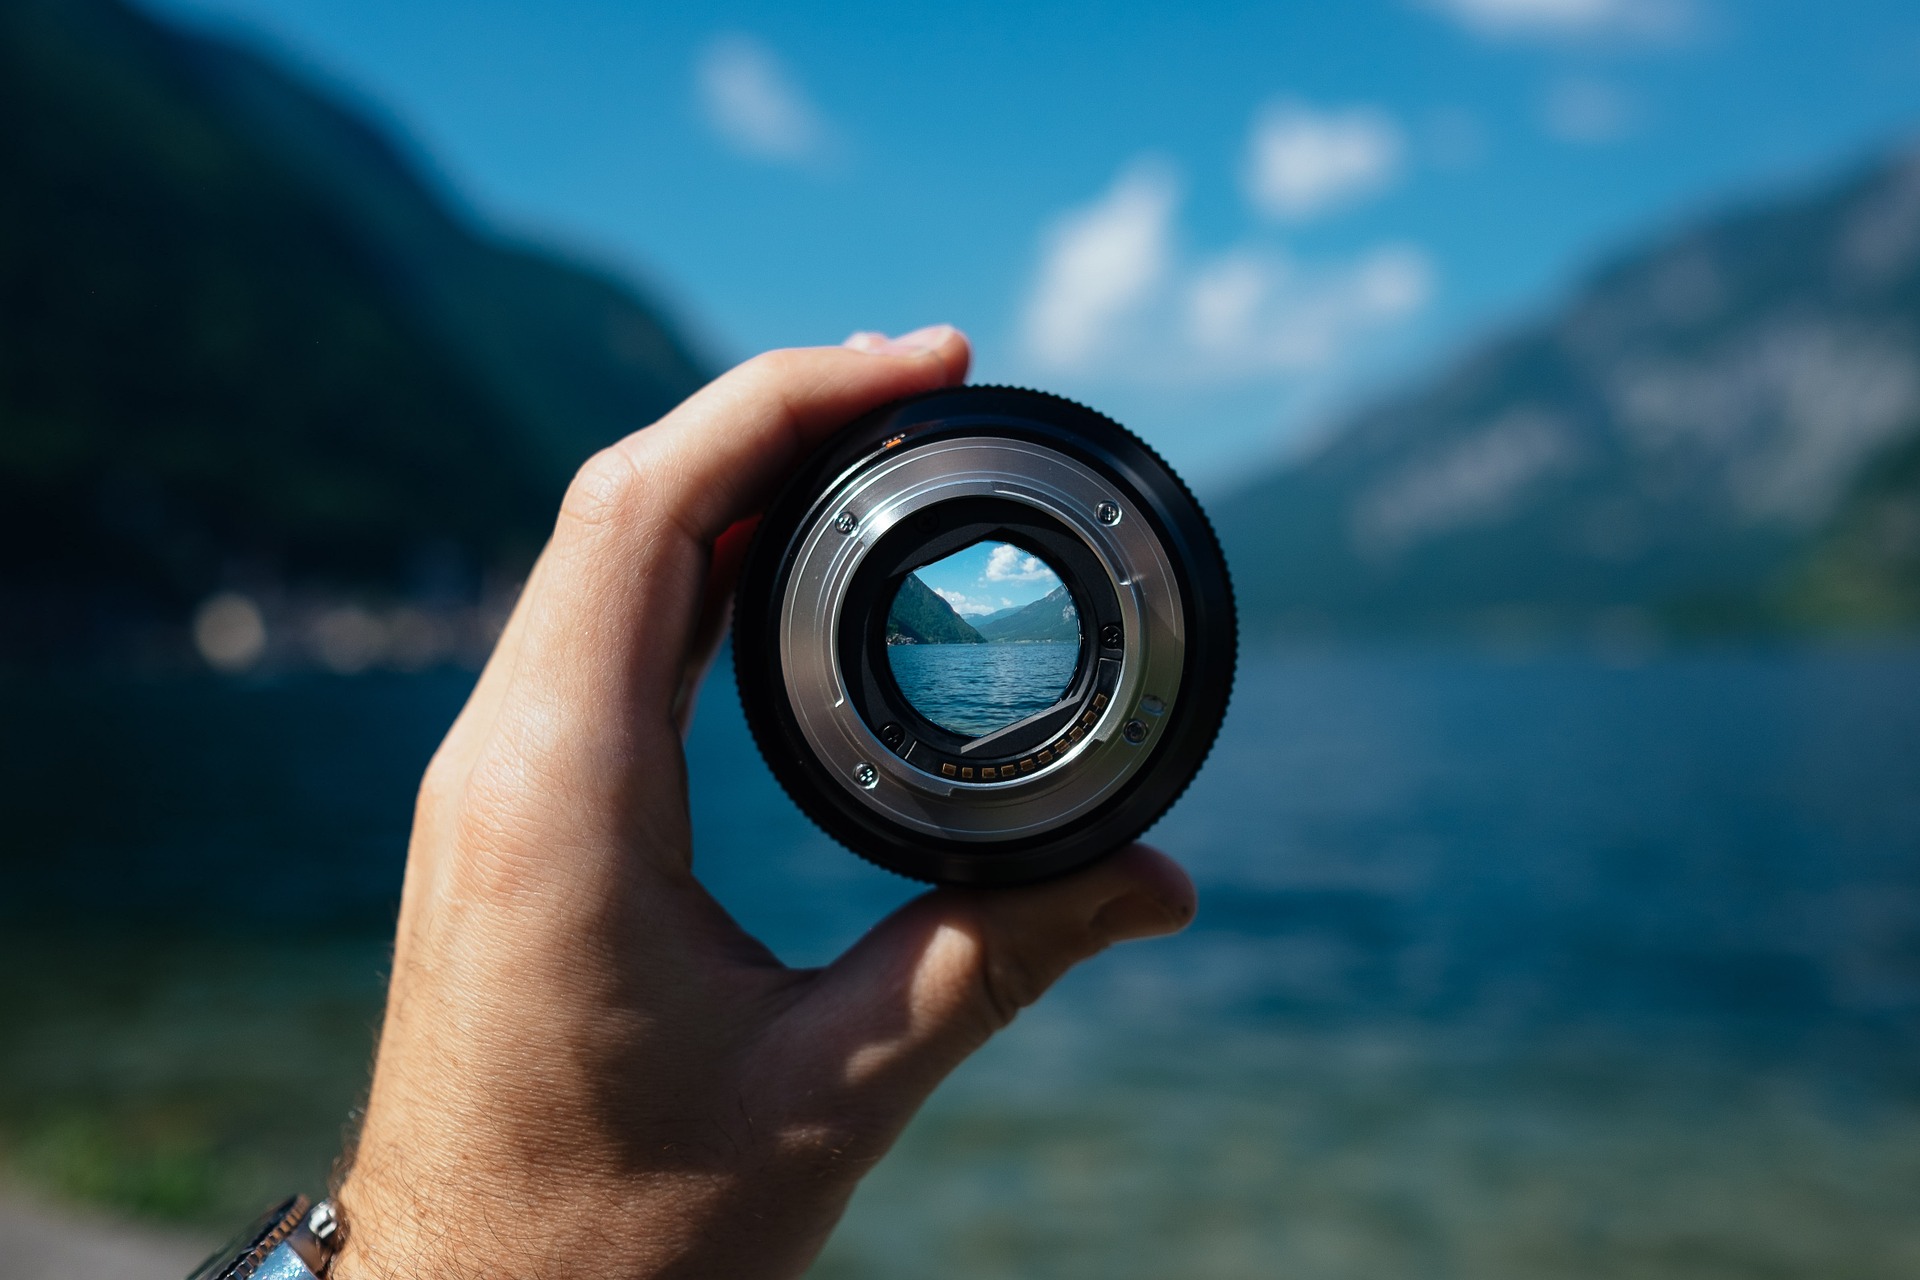
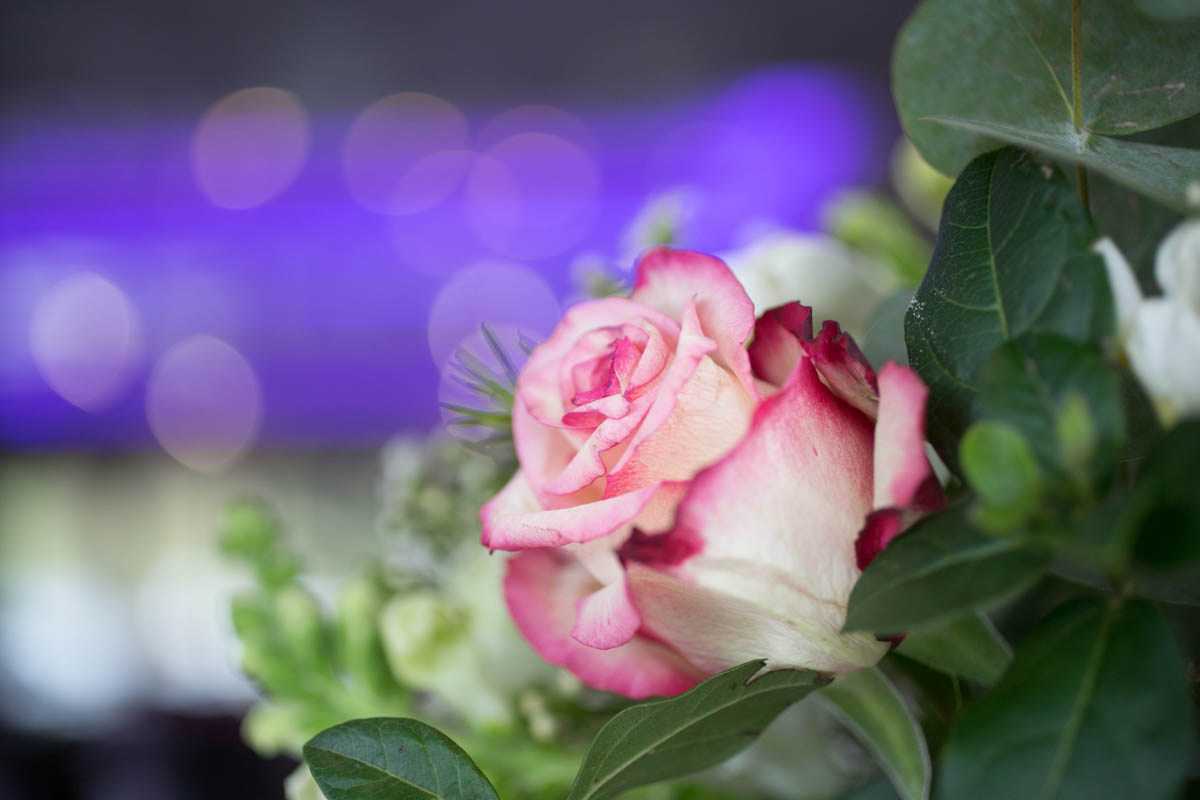
Create beautiful bokeh |
| Create stunning silhouettes by underexposing your sunset images. |
Learn how to manipulate your focusing points to draw attention to specific areas in your frame. |
In low light scenes, learn how to use depth of field to create beautiful bokeh (a Japanese word meaning blur). |